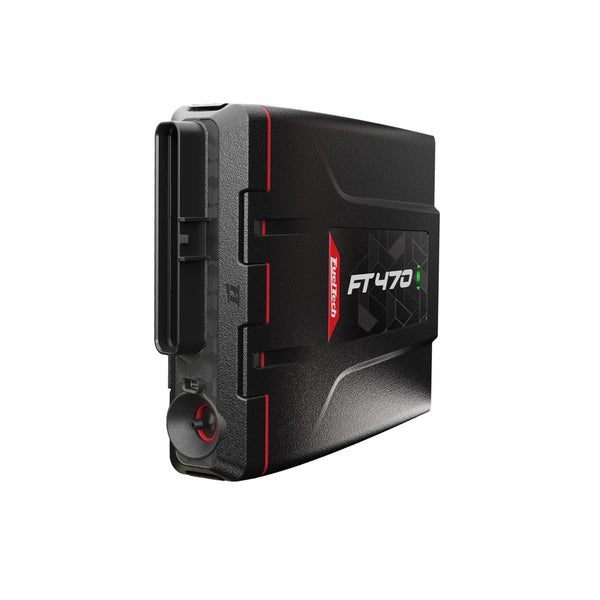
FuelTech FT470 is a VisionFT engine-management unit. VisionFT controller without an integral display: FuelTech Vision on a phone, tablet or computer is used for tuning. It has 20 Flex IO outputs and seven dedicated configurable inputs, with an integrated wideband conditioner; direct injection requires a separately sold PH-HV driver. FuelTech model documentation · FuelTech range comparison.
Identification and software
Record the exact model, serial, harness, firmware and configured outputs; similarly named FT models may use different connectors and functions. Tuning software: FuelTech Vision. FuelTech software and compatibility.
Wiring and pinout
Use the model-specific manual and the current FuelTech manuals index for connector view, cavity numbering, fuse values, sensor grounds and injector-driver limits. The manufacturer wiring archive contains installation-specific examples; match the exact ECU and harness before wiring. Pin functions depend on the model, hardware and configured output.
See FuelTech engine-management family for other models and company background. FuelTech is based in Brazil and has a US operation in Georgia. Sources reviewed 17 November 2026.
FuelTech FT470 multilingual installation manual contains the exact connector assignments and wiring instructions; select the English section.
44-way ECU connector pinout
The FuelTech FT470 Quick Install Guide, version 1.0, pages 7–9, lists the factory harness positions and Flex I/O secondary functions below. Outputs can be configured as inputs where indicated. Follow the original wiring diagram, output limits, trigger wiring and grounding instructions; the sensor ground and battery-negative wire both emerge from pin 10, and the two black/white power-ground wires are separate.
| Pin | Function in manufacturer guide |
|---|---|
| 1 | White input #1 |
| 2 | White input #3 |
| 3 | White input #5 |
| 4 | White input #7 |
| 5 | O2 sensor ground (yellow) |
| 6 | O2 sensor calibration resistor (orange) |
| 7 | CAN A high |
| 8 | CAN B high |
| 9 | RPM signal input |
| 10 | Battery negative and sensor ground |
| 11 | Switched 12 V supply; O2 heater positive branch |
| 12 | Blue output #1 / input #8 |
| 13 | Blue output #3 / input #10 |
| 14 | Blue output #5 / input #12 |
| 15 | Blue output #7 / input #14 |
| 16 | Power ground |
| 17 | Gray output #1 / input #16 |
| 18 | Gray output #3 / input #18 |
| 19 | Gray output #5 / input #20 |
| 20 | Gray output #7 / input #22 |
| 21 | Yellow output #1 / input #24 |
| 22 | Yellow output #3 / input #26 |
| 23 | White input #2 |
| 24 | White input #4 |
| 25 | White input #6 |
| 26 | O2 sensor signal (brown) |
| 27 | O2 sensor positive / IP (red) |
| 28 | O2 sensor heater negative (blue) |
| 29 | CAN A low |
| 30 | CAN B low |
| 31 | Inductive RPM sensor reference |
| 32 | Cam sync sensor input |
| 33 | 5 V sensor supply |
| 34 | Blue output #2 / input #9 |
| 35 | Blue output #4 / input #11 |
| 36 | Blue output #6 / input #13 |
| 37 | Blue output #8 / input #15 |
| 38 | Power ground |
| 39 | Gray output #2 / input #17 |
| 40 | Gray output #4 / input #19 |
| 41 | Gray output #6 / input #21 |
| 42 | Gray output #8 / input #23 |
| 43 | Yellow output #2 / input #25 |
| 44 | Yellow output #4 / input #27 |
Pin 11 supplies the O2 sensor heater via the green branch; the other O2 connections must match the selected sensor type. The guide includes separate Bosch LSU 4.2, 4.9 and 5.2 and NTK diagrams. The RPM/cam cable shield is grounded on the ECU side; see the source for sensor-specific connections.